Entering Trip Inspections / DVIRs
Last updated September 5, 2024
Switchboard allows you to create compliance Trip Inspections & Digital Vehicle Inspection Records.
You can complete a Trip Inspection through the On-Duty Status Change, or manually creating one in the Trip Inspection Page.
Method 1: Starting an inspection from the Driver Screen
From the Driver Screen, select On-Duty.
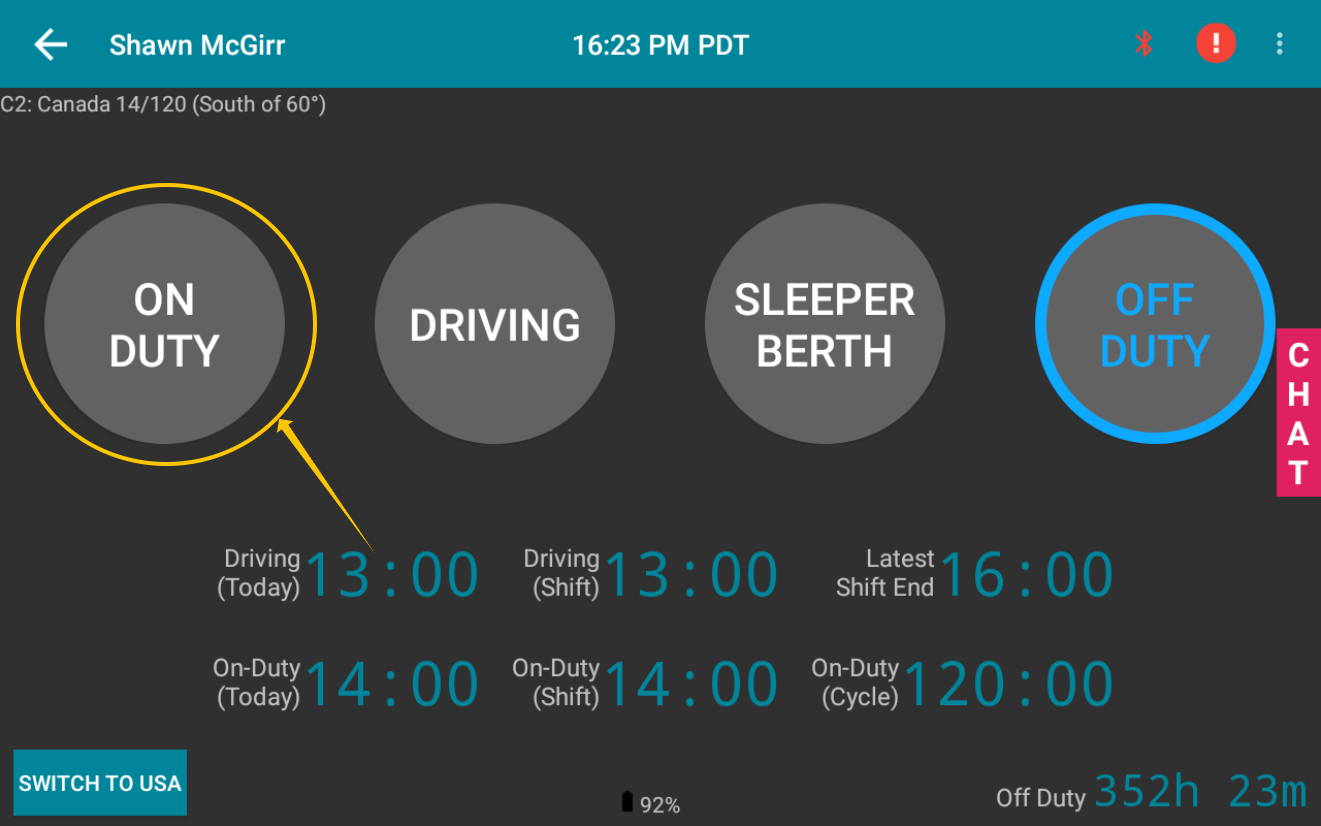
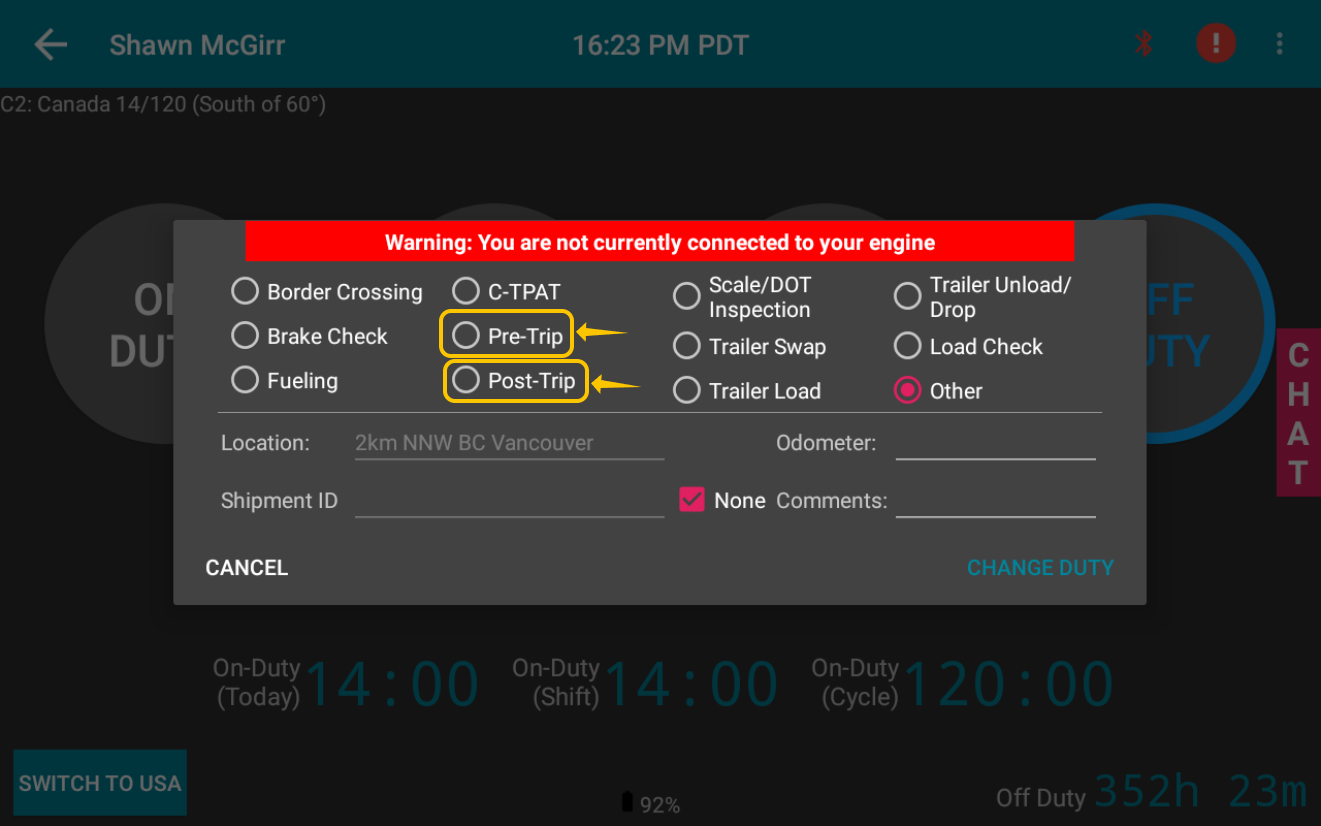
When On-Duty is selected, a list of annotations can be selected for the duty status change. Select Pre-Trip or Post-Trip. When those annotations are selected, then the Trip Inspection Screen will pop up.
Method 2: Starting an inspection from the Trip Inspection Screen

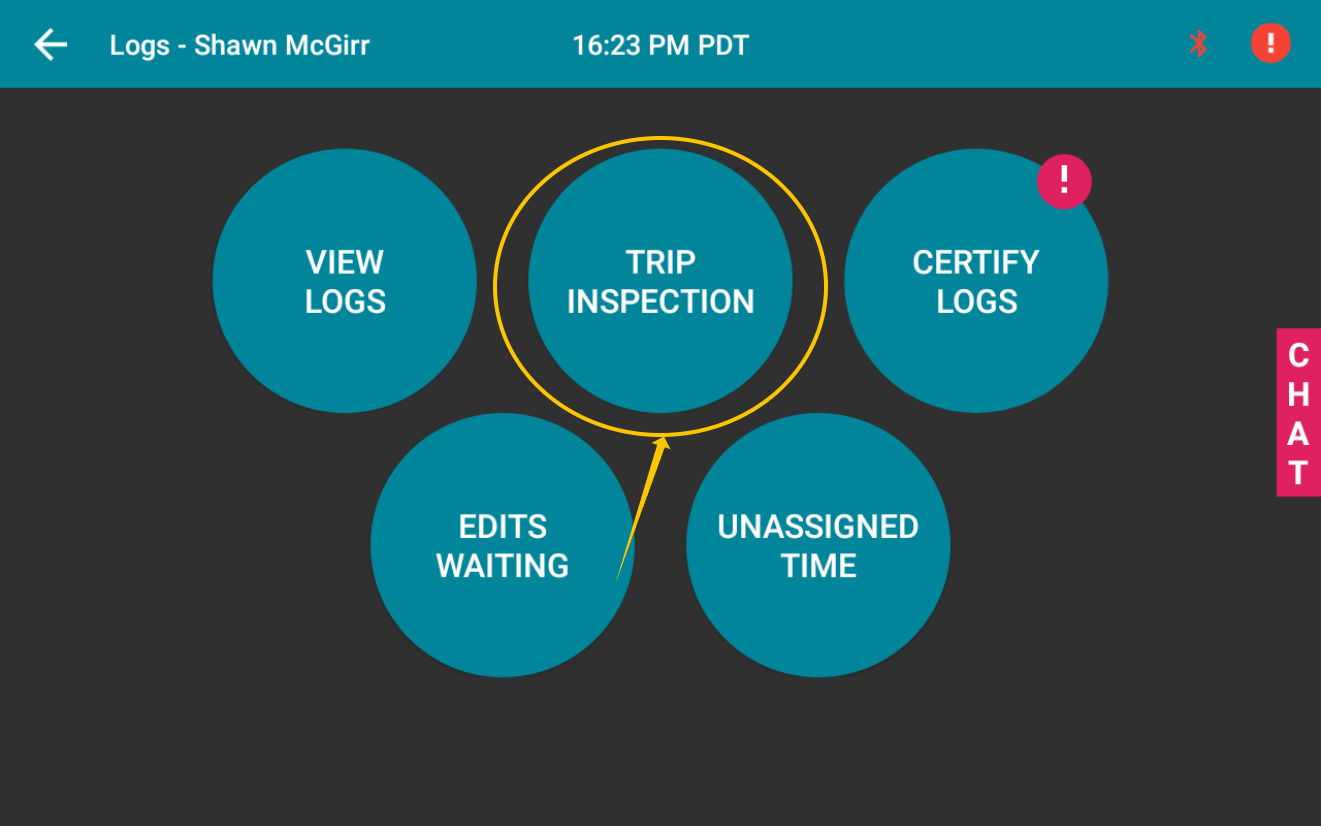
From the Trip Inspection screen, you'll be able to see the various Trip Inspections that have been completed.
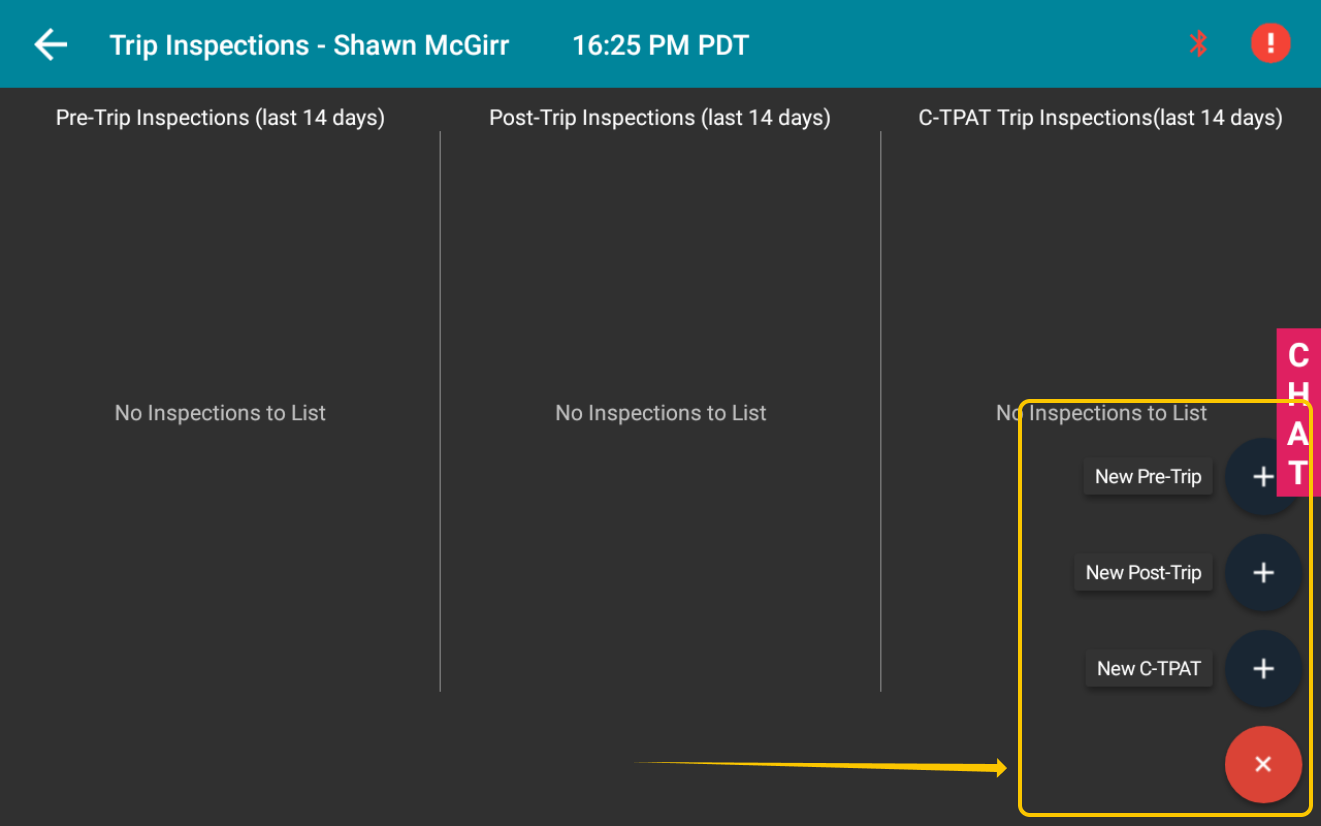
To fill out a Trip Inspection, select the red (+) button on the bottom right of the screen. Select "New Pre-Trip" or "New Post-Trip" to create a new trip inspection.
Filling out a Trip Inspection
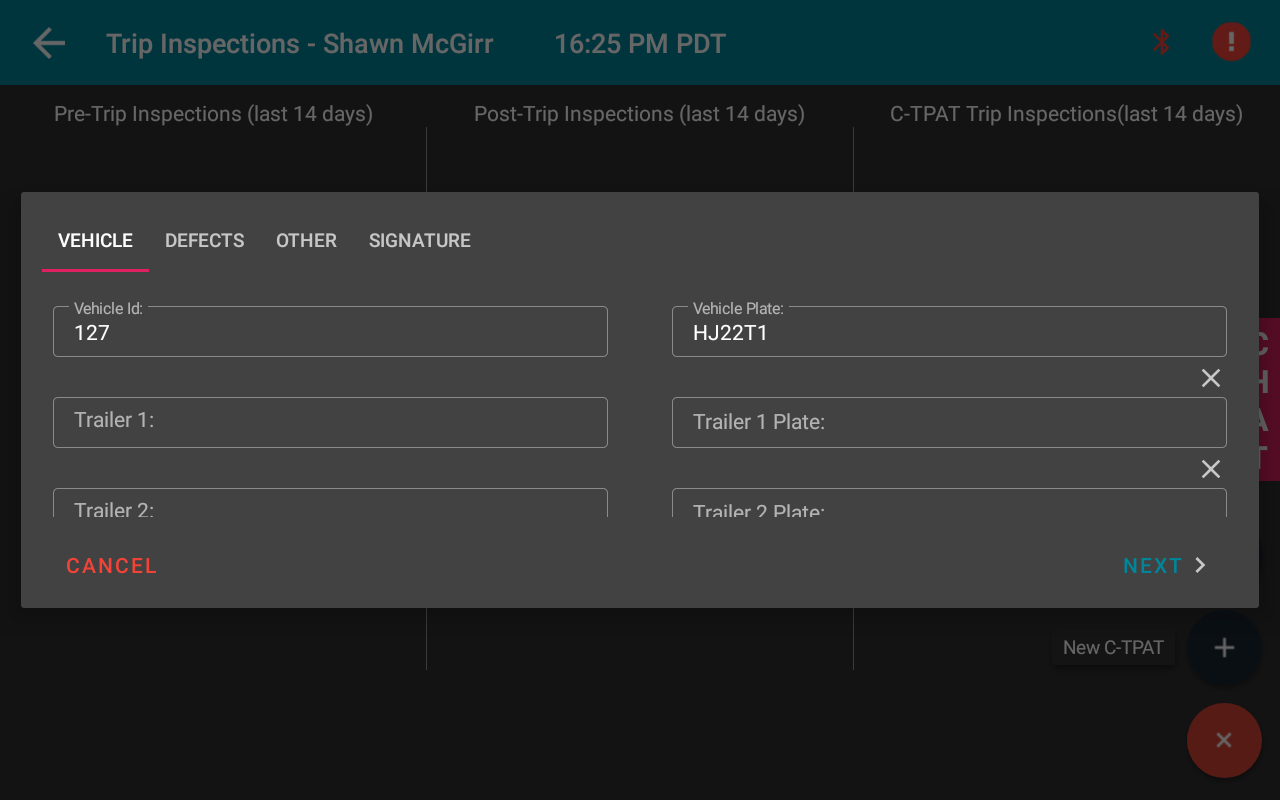
From the Trip Inspection Screen, you can enter the following information:
- Vehicle ID: The number/ID of your vehicle. To set a new vehicle, log out, then log back in.
- Trailer ID: The number/ID of your trailer.
- Odometer: The odometer reading of your vehicle. The miles/km is usually automatically entered from your Switchboard Engine Module.
- Location: The location of your vehicle. The location is usually automatically entered from your Switchboard Satellite GPS.
Recording a defect: If you have any defects on your truck or trailer, click "Add" for each of the defects. You will be able to enter a defect and any comments regarding that defect.
Once you are ready to complete the trip inspection, sign your trip inspection and select Finish