Switchboard Vision Dashcam Installation Guide
Last updated December 20, 2024
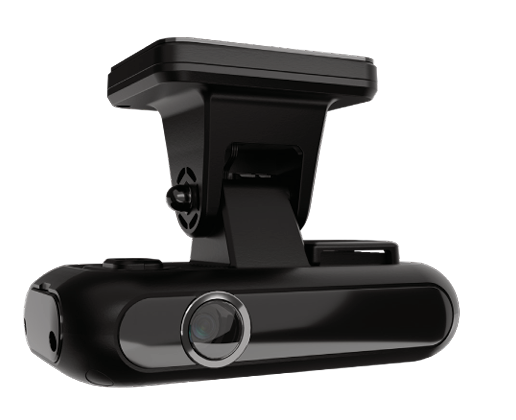
Installation of Switchboard Vision Hardware
To install the Switchboard Vision Hardware, you only need to connect three wires.
- Red (POWER+): Connect it to the power source of your fusebox/vehicle
- Black (GROUND): Connect it to the ground wire of your vehicle
- White (ACC_IN): connect it to the ignition signal output slot of the fuse box
Please ensure that the ignition wire (white) is connected; if it is not connected, then video will not be recorded
After that you should be able to see the status lights show on the camera.
Status Lights Description
Power (Red)
- On: On
- Off: Off
- Fast Blinking: Firmware Updating
- Slow Blinking: Low power voltage
GPS (Blue)
- On: Normal
- Off: N/A
- Fast Blinking: GPS is searching
- Slow Blinking: GPS abnormal
Record (White)
- On: Recording
- Off: Recording has stoped
- Fast Blinking: Event is recording
- Slow Blinking: Recording abnormal
Cellular (Green)
- On: Network connected
- Off: N/A
- Fast Blinking: Network connecting
- Slow Blinking: Network abnormal
Switchboard Vision Cloud
Note: Vision Cloud features are only available for companies that have the Switchboard Vision Platform feature enabled. To learn more, go here: Switchboard Vision
To ensure that you can see Switchboard Vision recordings and events in your Switchboard Vision Cloud Platform, you need to associate the IMEI of your device with your vehicle.
To do so, log into your Switchboard Cloud Platform . Go to the Equipment section of Switchboard, then either edit, or create a new Vehicle.
When you're adding your editing your vehicle, enter the IMEI under the Dashcam Hardware ID section.
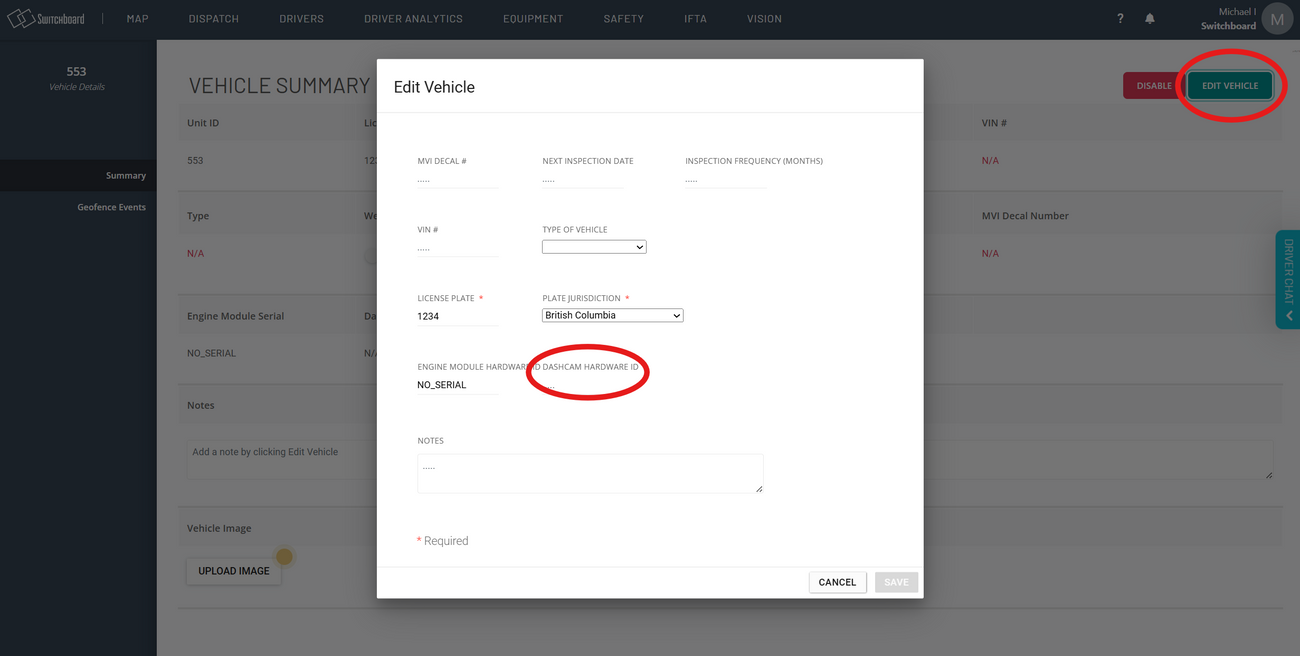
Once you have associated the Dashcam Hardware ID, you should start seeing Switchboard Vision Events in your Switchboard Vision tab!
